Fun build and teaches you a lot about soldering! I did this just to improve on my build skills, but eventually sold this off too.
Sound quality is very good, and you can adjust the "feedback" via a rotating switch. I did have most issues with the input grounds, ok maybe my soldering skill were not up to par back in the day. The input signal wires are very very small and the input selector and volume attenuator is a bit tricky to solder.
Just a small recap of DIY speaker builds. Diy all the way. Sold them all off.
Audiokit AW 10x coax (zebrano veneer)
Basic speaker build kit with coaxial speakers by seas. These were pretty decent, but expensive elements. limited in bass depth.
Making of - pic from the Aw 10 coax, I made 3 cabinets and in this pic two have been treated with osmo top oil. Makes a huge difference in color.
Picture is before Osmo finishing "top oil" wood oil. Zebrano veneer is a absolute pain in the ass to work with, very fragile and "stiff".
Audiokit aw-10 excel (walnut veneer)
Making of -pics
I made the cabinets out of 15mm birch plywood. Very overkill for such cabinets. I did not build the cabinets with miter joints, which was a big mistake.
This is before the wood oil treatment. Much less contrast in the color. The wood oil is very sensitive to wood glue stains. Be warned.
Veneer before cutting. Cutting them is the most difficult part of the process. I would suggest leaving it to a professional, and if he has a veneer cutting machine, even better.
Walnut veneer test with shiny laquer. Would make for a very contrasty and rough look!
Hifimaailma HM100db/w with Aw 10 excel
The price you pay for diy speakers. Sometimes they end up like this:
Listening tests with Hepokatti.
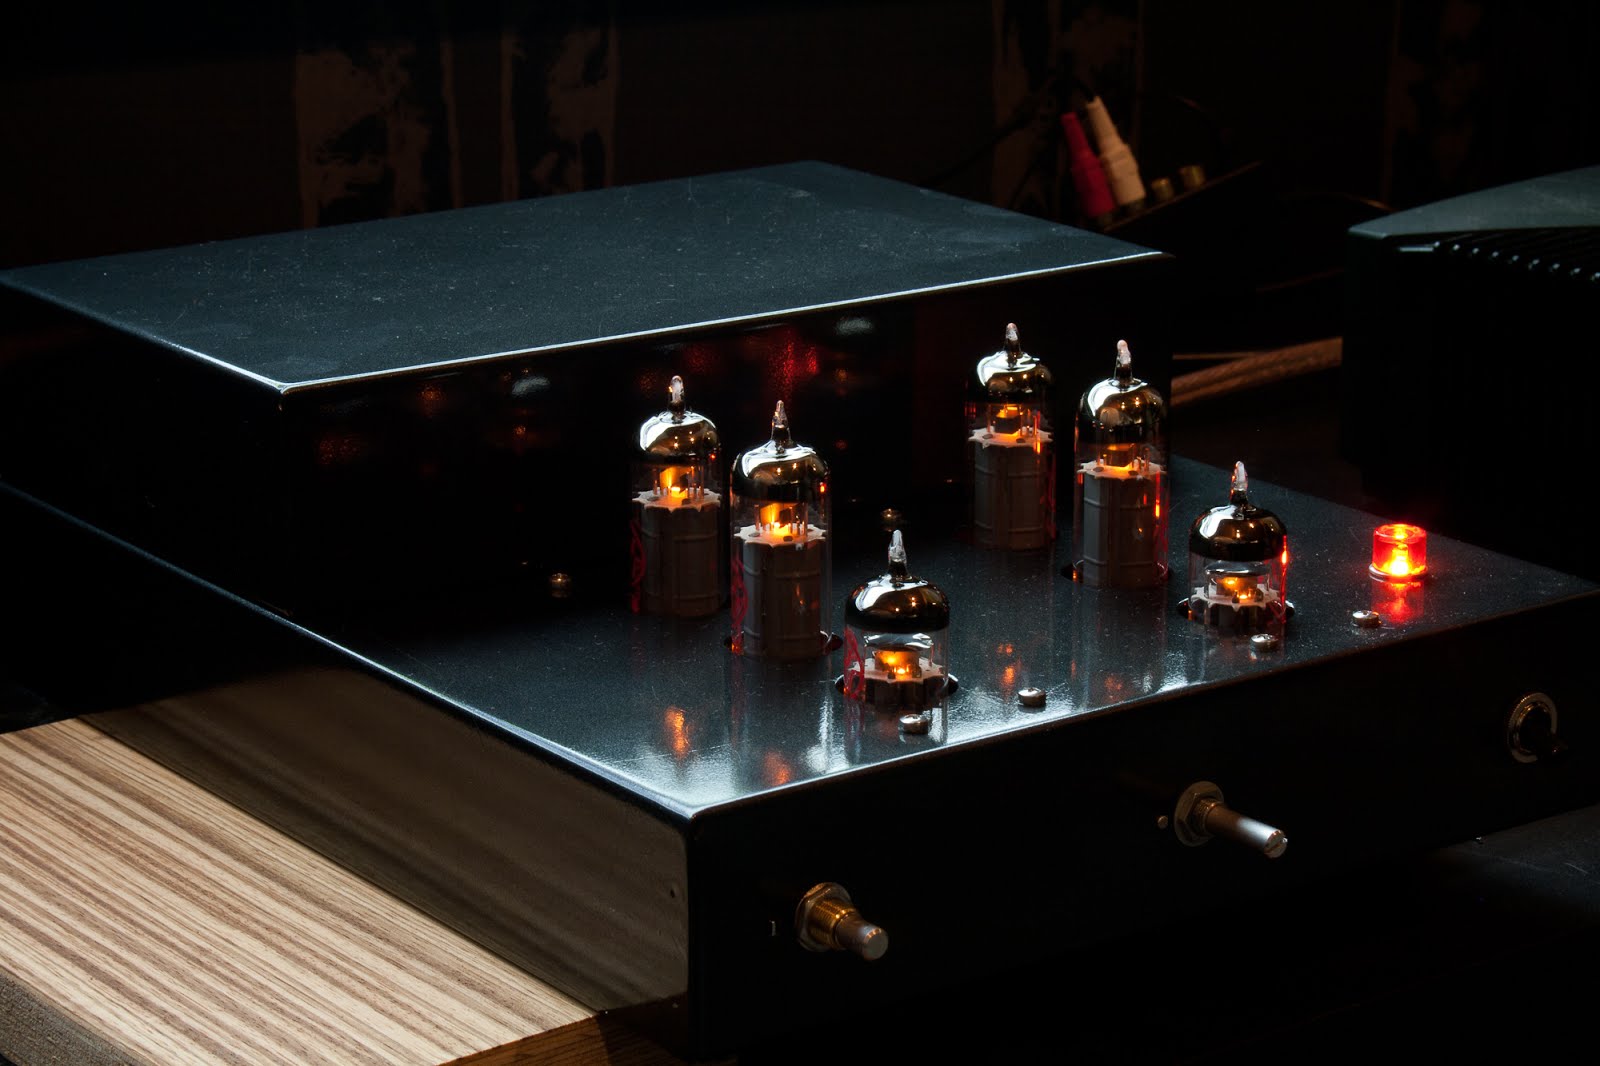
Uraltone hifi pp el-84 Diy tube amp kit. Pretty decent amp, but lacked some "attack" for my liking. Sold off as well.
Ok, so I had some issues with my Cyrus cd8 se2 (factory upgraded by Cyrus from SE to SE2 unit)
The player didnt read all discs properly and it was skipping with some tracks. I've read about similar experiences on the web about Cyrus cd players.
Cyrus repair would have cost 250£, not including the postage overseas.
I ordered a replament Laser unit from Ebay, which cost 20£ and did seem to do the trick. Skipping issues are gone. The do-it-yourself repair took about 5minutes to complete after I found the proper instructions from the laser units distributor.
The exact model of the laser unit for the Cyrus cd8 se and se2 is SF-HD850. Apparently its a dvd-laser unit made by Sanyo.
Cyrus claims on their website that "Cyrus took the unique move of throwing that software out of the window and creating our own disc reading technology. All of our CD players now use our second generation servo software which provides audible improvements to the reading of CDs." Ok, maybe it has something more to do with the software and not so much on the laser unit.
Unit upside down, begin by removing 4 screws, yep, thats a t10 torx head.
Remove the small screw holding the "power" pcb card in place. Above the motor.
You need to carefully remove the small plastic clip holding the large white gear in place. Pull the gear up.
The laser unit is attached to two metal shafts. Unscrew the two small screws holding the shaft in place, you only need to remove the shaft on one side and the laser unit comes off pretty easily.
Remove the cable carefully, it is held in place with the black plastic tab. Note the orientation.
Impotant: The new laser unit will not work unless your remove the solder dot on the new unit. Compare the old unit to the old one. The place is marked on the pdf link.
This should work, atleast did work on my cd player.
Diy project featuring Eighteensound 15" midbass and horns, based on Diy-speaker from Hifimaailma magazine.
I purchased the DIY speakers original with very very large cabinets.
The cabinets very filled with normal "glass wool" used in building insulation. This is not good practise in my opinion, as it will be transferred into room air via the reflex ports.
I designed new much smaller cabinets. I have a large amount of room gain due to my listening room dimensions, thus the very large original cabinets did deliver bass a little "boomy".


.jpg)


